QR Maker Help
In the Name of God
In this tutorial, we are focusing at the QR maker training.
Please note that due to the use of Google's website to make barcodes, you must make an Internet connection when you run the program.
After downloading and installing the software, when running the software you will encounter a page similar to the one below:
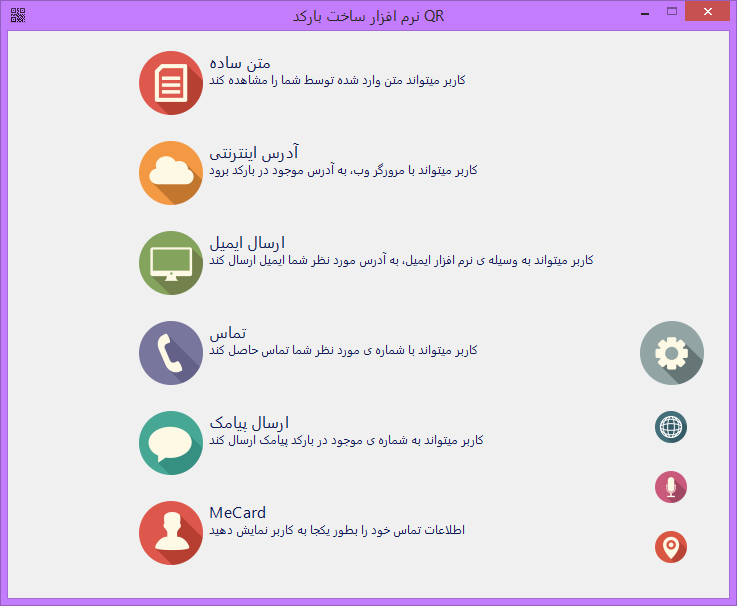
To make a barcode, select one of the options in the menu, depending on the type of bar code you want to create. We will continue to examine each of these options.
The first option is to create a simple text barcode, which you can see in the image below:
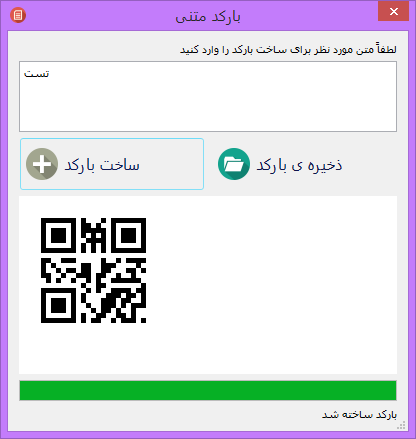
As you can see, this window is made up of 3 parts. The three parts of the other windows are the same. The first part is about entering the information here in the text box and you should enter plain text. The second part of the buttons is the bar code button to view the barcode without storing it and the barcode save button to save the barcode image on your computer. The third part also involves viewing the barcode and navigation bar. As mentioned above, these three parts in other windows are the same.
We also use a barcode scanner to test the barcode and see the results. In the following screenshot, you will see a barcode scan in the barcode scanner software:

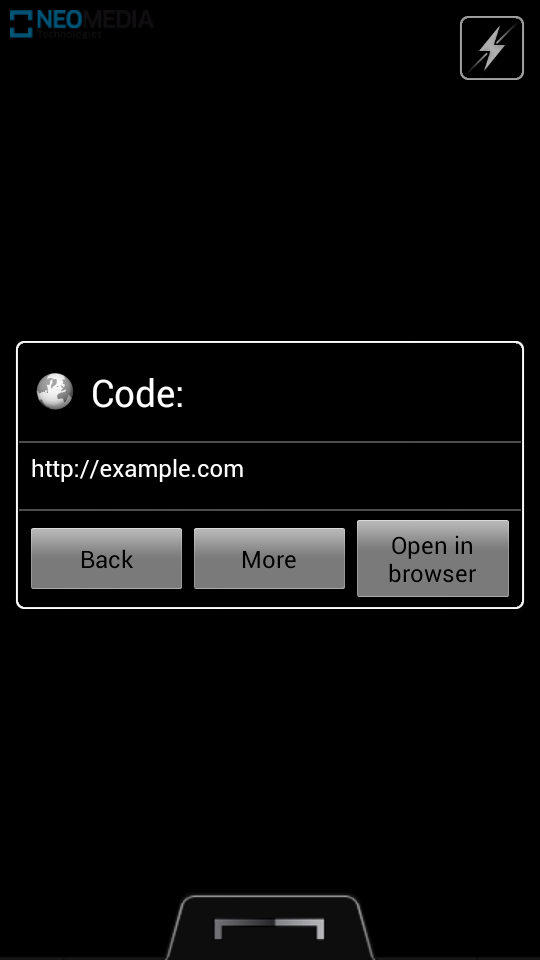
Let's go back to the home page and look at the second option, the URL. In the picture below, you will see the window associated with this option:
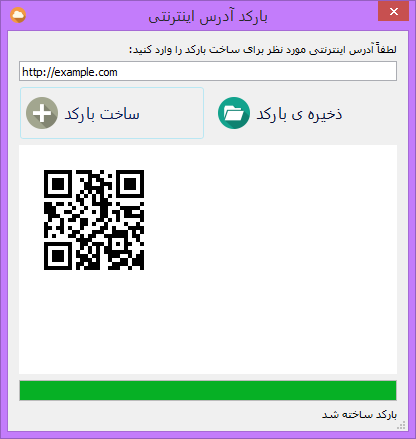
Just enter an address in this section. In the following screenshot, you will see a barcode scan in the barcode scanner software:
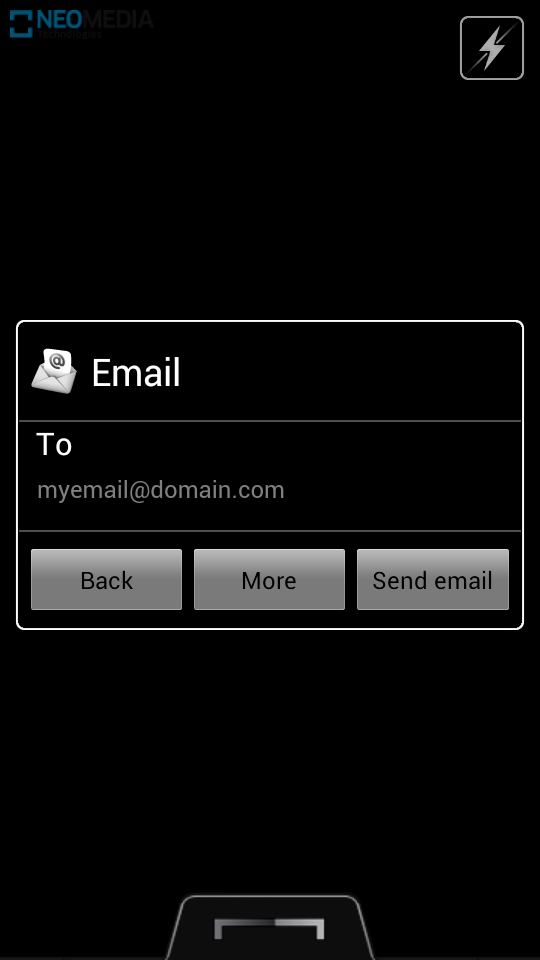
In the main menu of the software, the next option is to send the email by which you can create a special barcode for sending emails. You see this section in the image below:

In the following screenshot, you will see a barcode scan in the barcode scanner software:
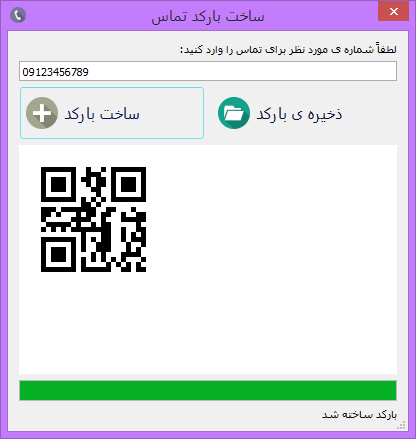
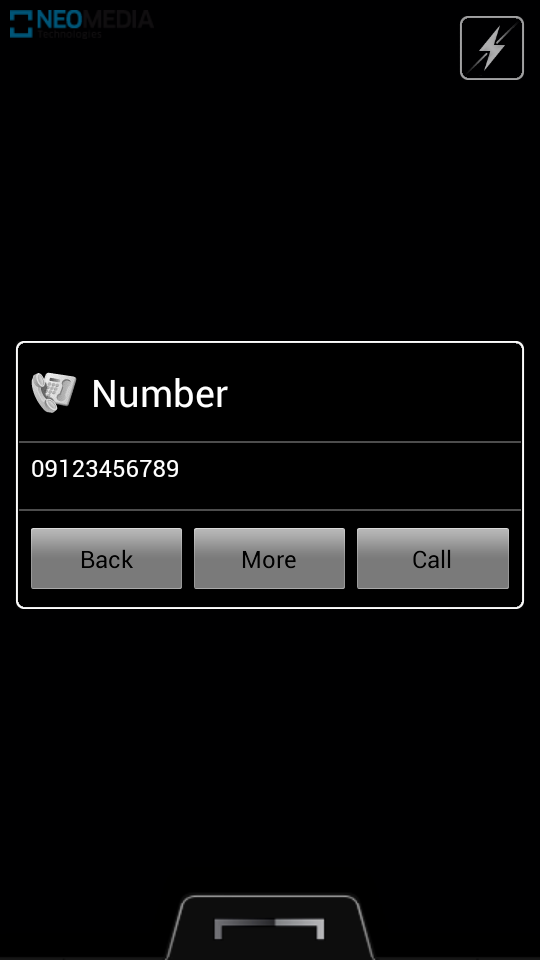
Return to the main menu of the software and check the next option, call. In this section, you can create a special bar code for the call number so that the user contacts the number you are calling. In the picture below, you will see the window corresponding to this section:
In the following screenshot, you will see a barcode scan in the barcode scanner software:
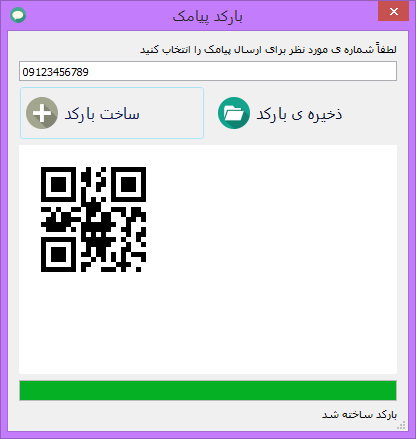
In the main menu of the software, the next option is to send a text message by which the user can send the SMS to your desired number. You see this section in the image below:
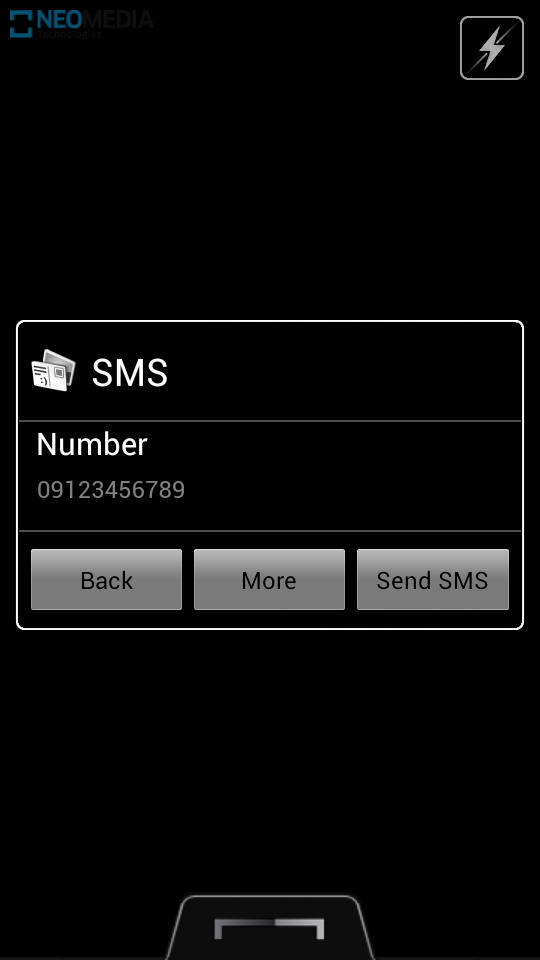
In the following screenshot, you will see a barcode scan in the barcode scanner software:
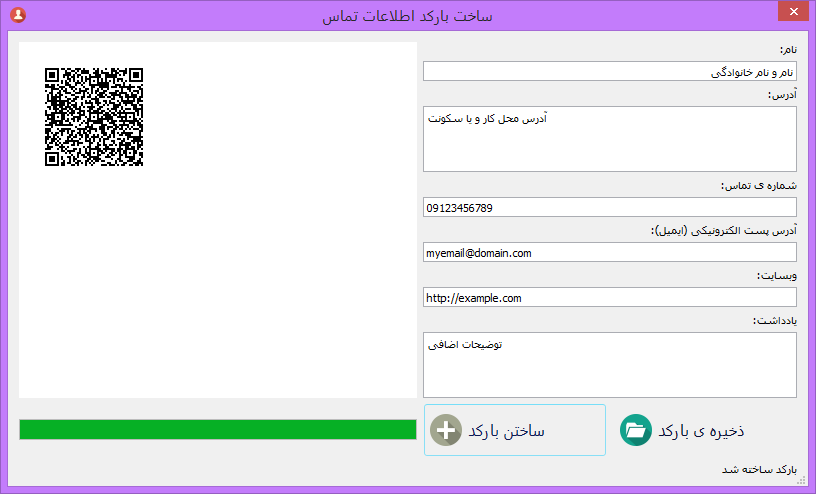
The last option for making barcodes is the MeCard option where you can create barcodes for contact information. You can enter more information in this window, but only the name field is required and the other fields are optional.
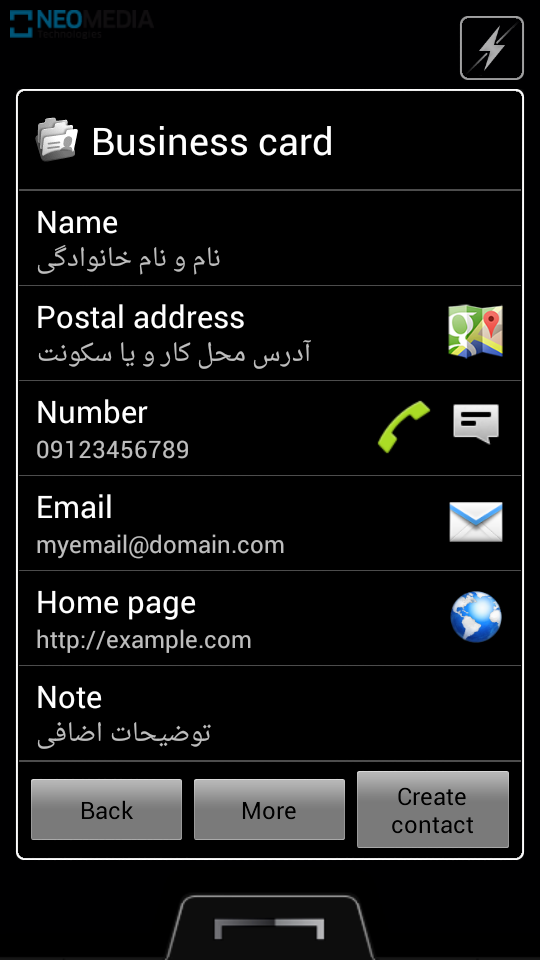
In the following screenshot, you will see a barcode scan in the barcode scanner software:
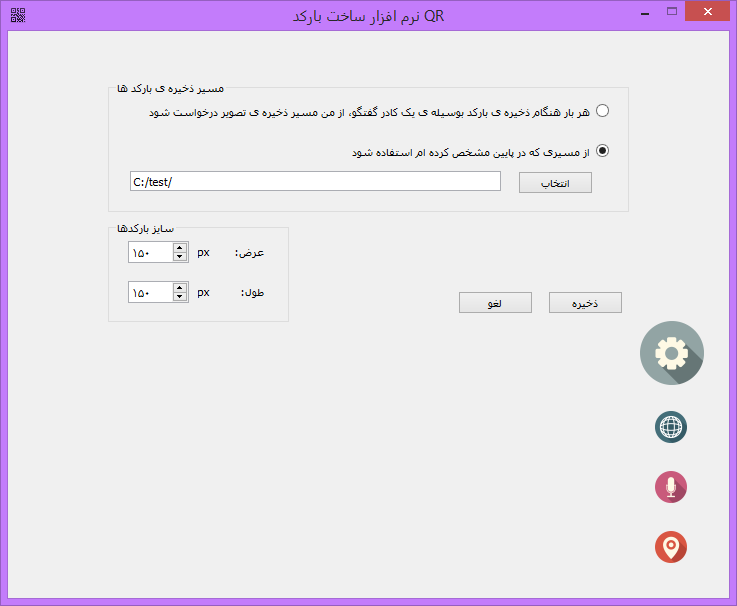
On the main screen of the software, in addition to the main options, additional options are also on the bottom right. Let's look at these options. The first option is the software settings, where you can choose how and where to save the barcodes, as well as the size of the barcodes. You see this section in the image below:
The next option is to send an error report. If you think that there is an error in our software, you can inform us by using this option to help us solve the problem. Also the next option is to submit the feedback. If you have any comments to improve our software, you can let us know by using this option. The last option is about the software information you can view and also check for the new version. You see this section in the image below:
